hexo
官方
说明
搭建自己博客分为两类,一种是托管到 github 上的,以 hexo 为代表,另一种是需要自己购买服务器,主要使用 wordpress、帝国 cms、织梦 cms 等框架。下面介绍下使用 hexo 搭建个人博客。
配置环境
- 安装 git
- 安装 nodejs
- 安装 hexo
npm install hexo-cli -g
注意:npm 安装报错 code Z_BUF_ERROR errno -5 ! zlib: unexpected end of file
解决办法地址: https://cnodejs.org/topic/4f9904f9407edba21468f31e
1 | 镜像使用方法(三种办法任意一种): |
创建博客站点,发布文章,本地浏览
1 | 创建博客站点、初始化、安装依赖 |
浏览器里访问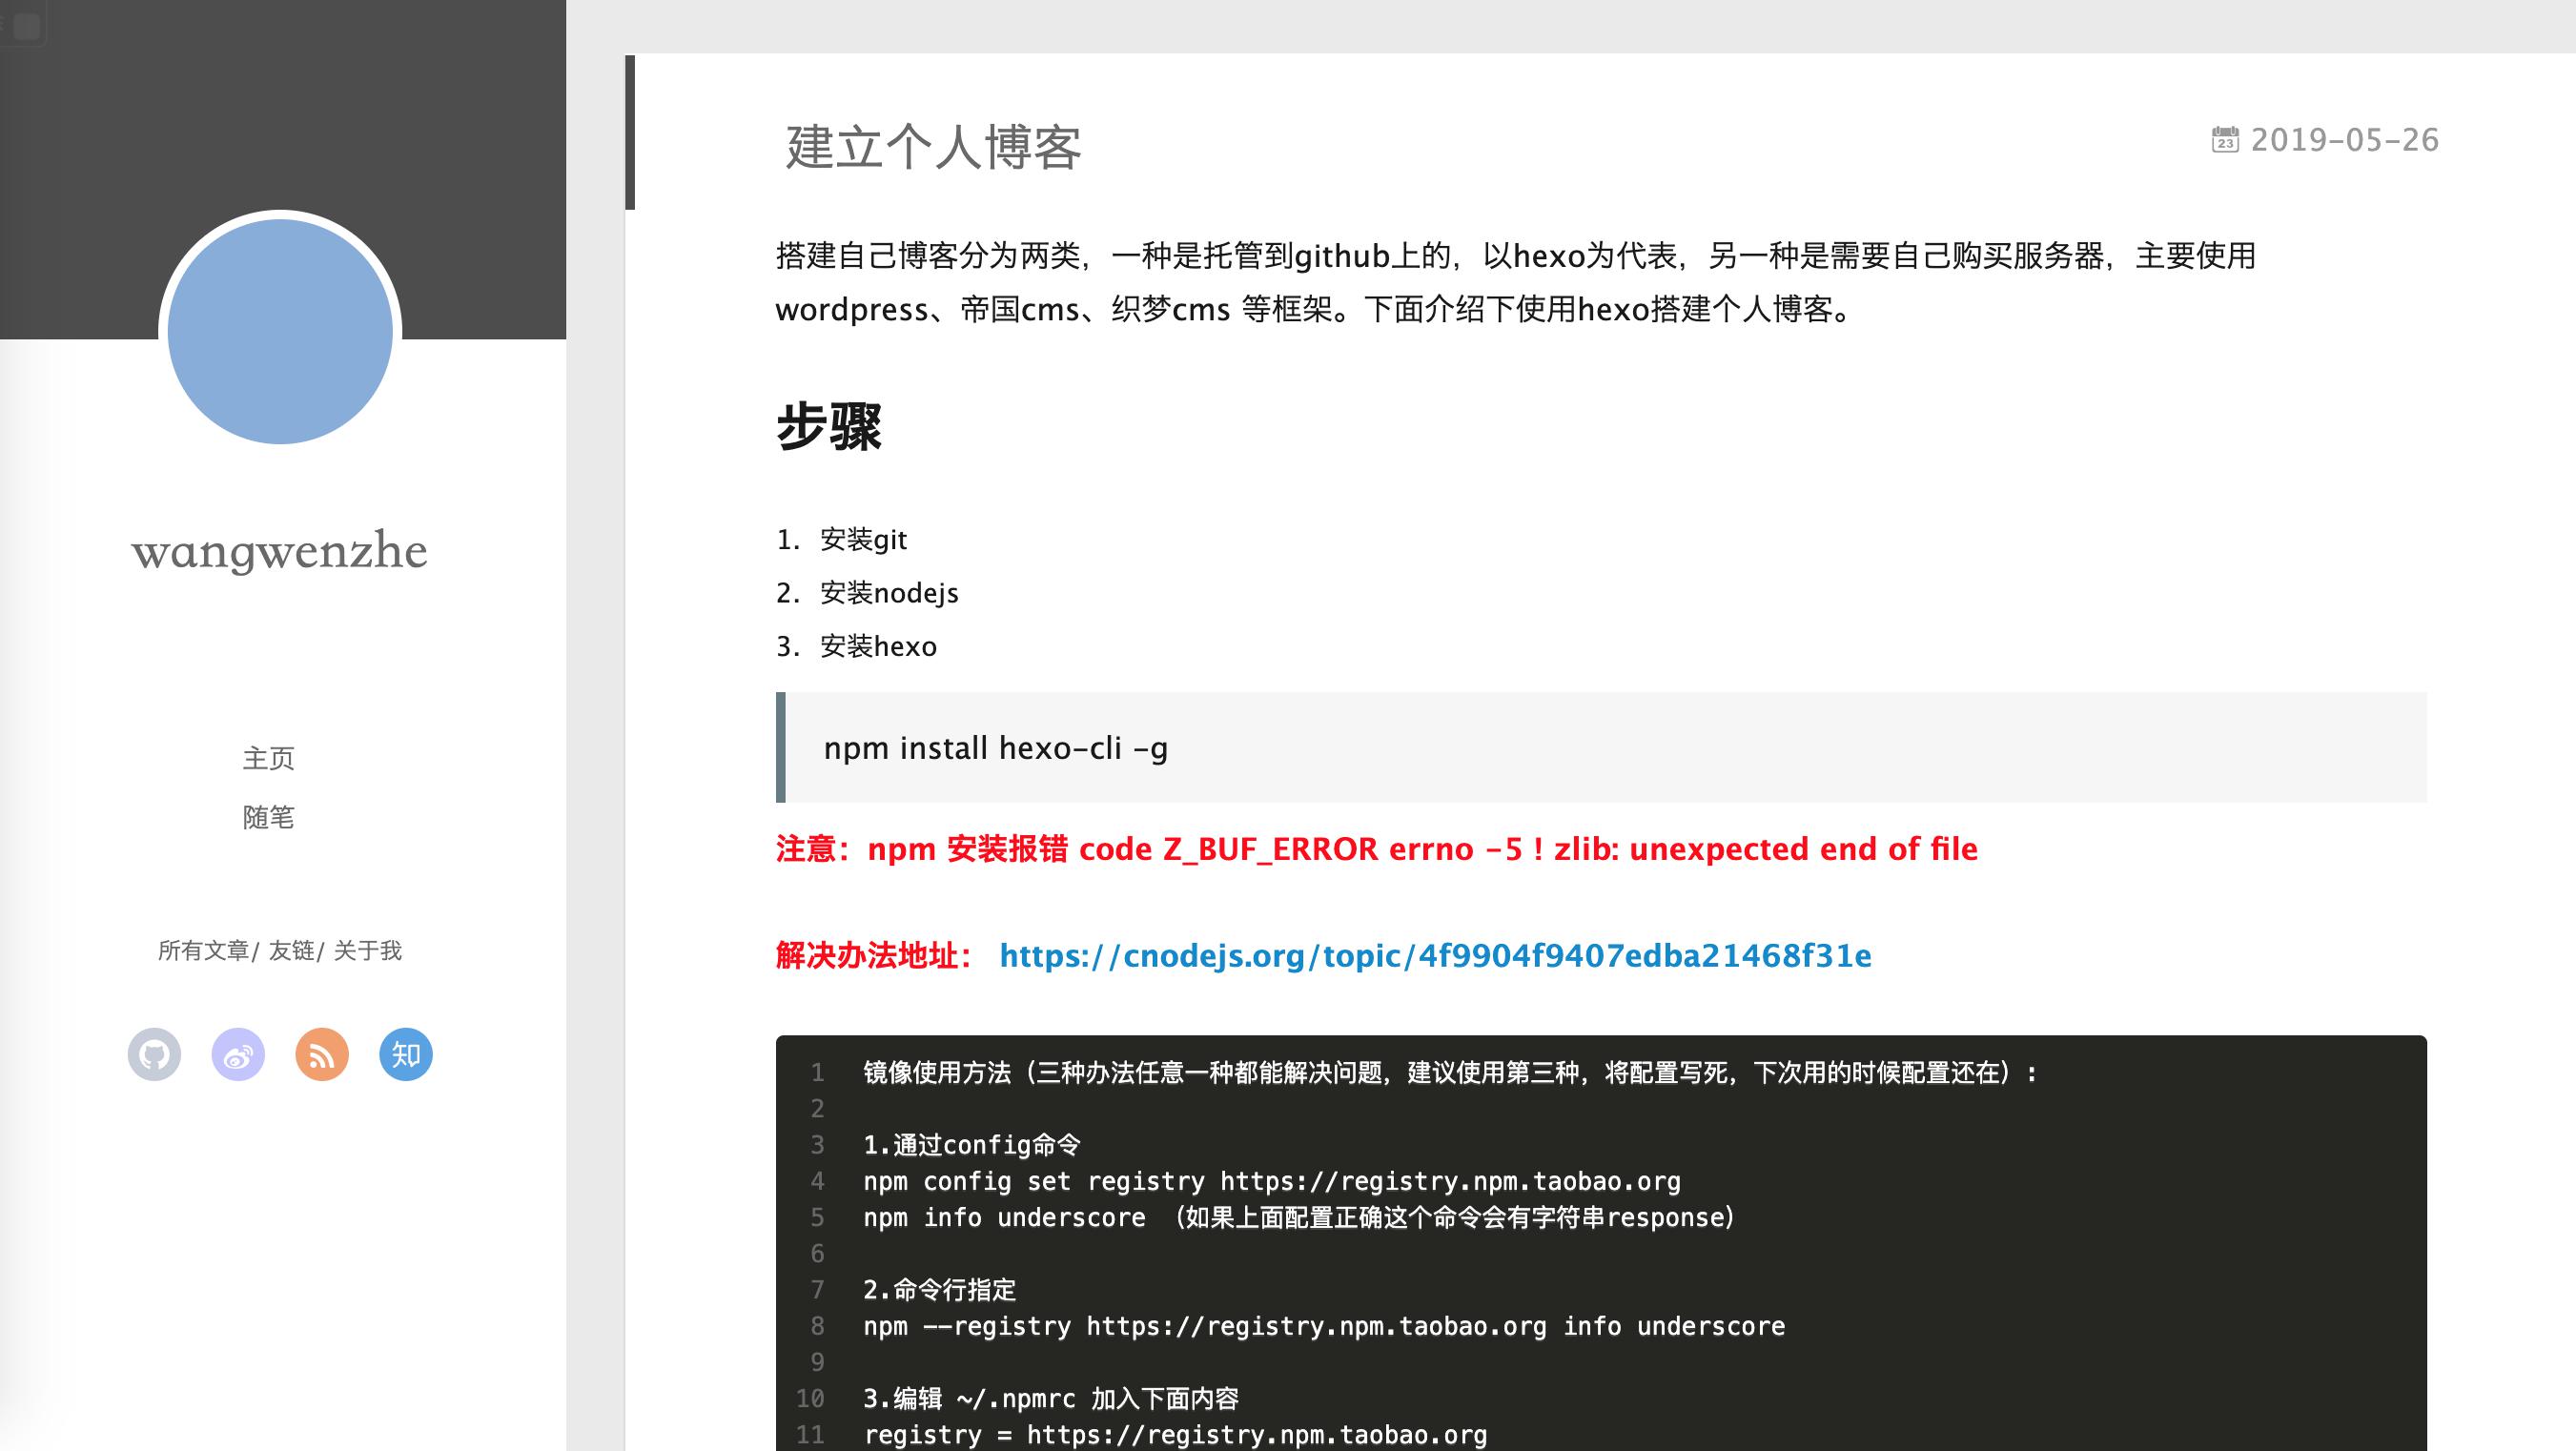
发布到 GitHub
- github 上创建仓库

- 修改根目录下的 _config.yml 中 deploy 项

deploy:
  type: git
  repo: https://github.com/xxx/yyy.git
  branch: main
  message: "update"
安装 hexo 的 deployer 插件
npm install hexo-deployer-git –save
发布博客到 github 上
hexo d
浏览器访问地址:https://wangwenzhe.github.io
自定义设置
- 博客生成永久链接: https://www.imbhj.com/posts/b6a99401/
- 博客添加自定义css和js文件: https://blog.leonus.cn/2022/custom.html
- 历史上的今天插件: https://zfe.space/post/hexo-history-calendar.html
butterfly 主题
- 安装主题与主题美化:https://blog.captainz.cc/posts/hexo_butterfly_beautify_1.html
- butterfly导航栏修改方案: https://blog.anheyu.com/posts/8e53.html
- 本地搜索 Local search:https://www.cnblogs.com/Code-Rain/p/16905966.html
- 土味情话:https://blog.lvhrn.cn/posts/ca8261d0.html
- 页脚养鱼: https://weilining.github.io/206.html
- 文章置顶: https://hujiyi.github.io/2022/08/19/hexo-generator-index-pin-top/
- TODO 自定义右键菜单
本博客所有文章除特别声明外,均采用 CC BY-NC-SA 4.0 许可协议。转载请注明来源 王文哲的博客!